meta data for this page
Curve 2D
Curve 2D has options that allow you to cut a curve, make a 1-line pass, profile from top to bottom of the hole, or make the hole tapered.
End Hole Diameter
This value is the size of the hole at the Ending Circle.
If the Start Hole and the End Hole diameters are the same the system will profile straight down. If the End Hole and Start Hole Diameters are different the hole will come out tapered.
Depth of Pass
This value is the amount of stock to take per pass.
Side Stock
This value is the amount of stock to leave on the side wall.
Start Circle/Offset
Is used to tell the system which circle to start from and give it offset to start higher or lower than the start circle. Enter a positive number the tool will start higher than the start circle. Enter a negative number and the tool will start below the start circle.
Ending Circle/Offset
Is used to tell the system which circle to stop at and give it offset to start higher or lower than the start circle. Enter a positive number the tool will start higher than the start circle. Enter a negative number the tool will start below the start circle.
Direct Entry/Exit
This is used to change the start point of the program. With this option not checked the program will start at the center, if the option is checked the program will start at the end diameter.
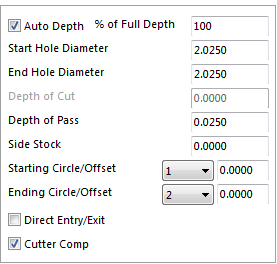
Auto Depth
With this option checked select the starting circle and the final ending circle. There is an option for the system to only go a % of the depth. Enter the percentage of the depth required. With Auto Depth unchecked the options change. Enter what circle to start from and how deep to go from that circle under Depth of Cut.
Start Hole Diameter
This value is the size of the hole at the Starting Circle selected.
Below are examples with the values that were used to get the result in the pictures.
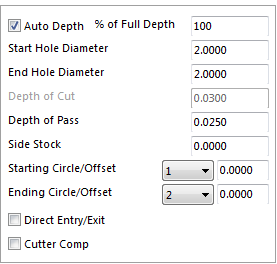
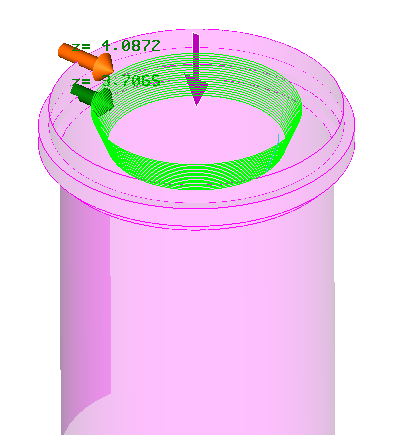
This program will cut straight down the diameter it is given. The Start Hole and End Hole diameters are the same.
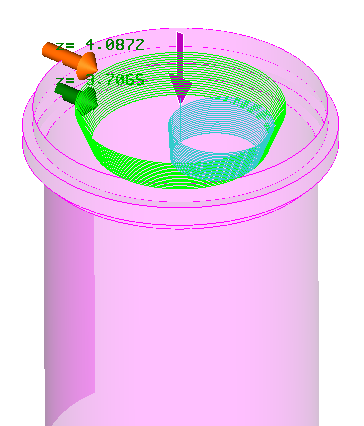
The program starts in the center plunges .025 and arcs onto the wall, if you wish the program to start on the wall check Direct Entry/Exit put keep in mind that the cutting tool will plunge on the wall, example shown here
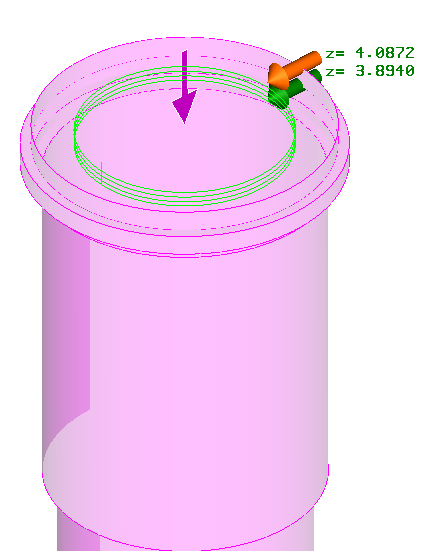
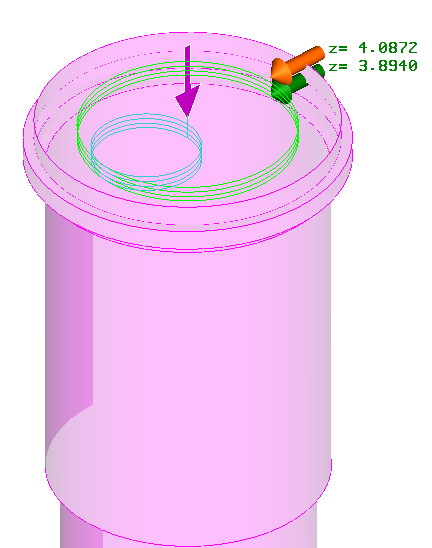
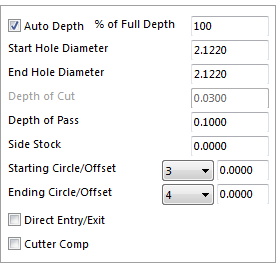
These settings will allow the user to cut an undercut or groove into the side of a bore.
In order to get one pass, make the Depth of Pass greater than the distances between the two circles you have chosen.
Important note – never use the Direct Entry/Exit when cutting a groove or undercut, if used, the cutter will plunge down at Start Hole Diameter.
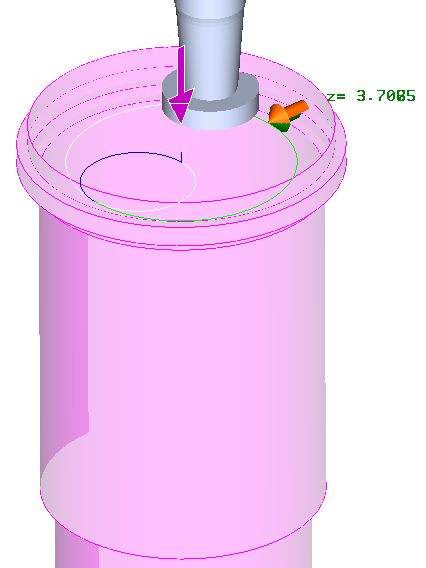
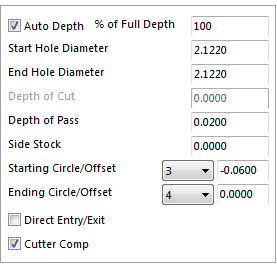
To make multiple passes when cutting a groove, change the Depth of Pass and the Starting Circle/Offset.
For the Depth of Pass change the value to the amount of material to take at once.
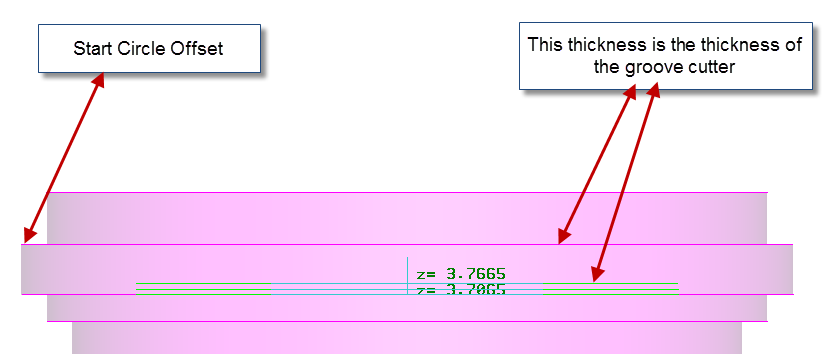
For the Starting Circle/Offset, enter the thickness of the groove cutter.
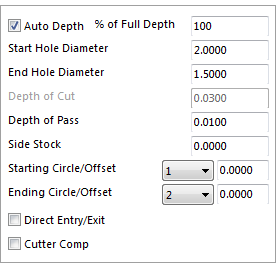
These setting will allow the user to put a tapered angle on the hole. The pattern does not need to have the tapered angle designed in order to achieve this.
Enter the value in the Start Hole Diameter and the End Hole Diameter.
For the depth use the Auto Depth option or check it off and input a value for the Depth of Cut.
The program starts in the center, plunges .025”, and arcs onto the wall. To have the program start on the wall, check the Direct Entry/Exit box. Keep in mind that the cutting tool will plunge on the wall. Example of this is shown below.
