meta data for this page
Pattern Management

Change the status of the patterns, measure water lines to surfaces, or insert patterns, and look at the drill pattern database and detect circles.
Tag All
Once all circles have been detected and the proper drill pattern database is being used, select this button to tag all the holes and it will give the status of each pattern.
Untag All
This will remove the tag status and make all the holes unuseable.
Validate
Take a pattern that has a block or violation status and make it a tagged status to have the option to use it for programming.
DP Database
Selecting this button will bring the user into the pattern database.
Circle Detection
This button will go through the job and detect all circles needed to create patterns.
Tools
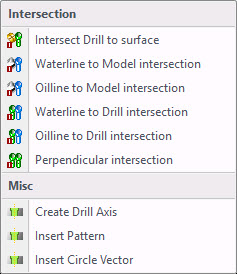
Under the Tools button there are two section, Intersections and Misc. The Intersection section has 4 selections and the Misc section has 3 selections. In order for these to work properly make sure when a pattern is created, and the pattern is a water line, it needs to be specified that it is a water line under the Drill Parameters in the DP file.
Waterline or Oil to Model intersection
The operator will be prompted to enter in a clearance value. This value will be to calculate the proximity check against the surface model. Click Ok.
Select what surfaces need to be checked against or click all to select all of the surfaces in the model. Click Ok.
Intersect Drill to Surface This option is used for inserting a point at the center of the start of a straight or angled hole. Select a tagged pattern or multiple patterns. After the selection click OK and then the operator will be prompted to select surfaces to intersect. When done click OK and points will be placed at the center of each of the selected patterns.
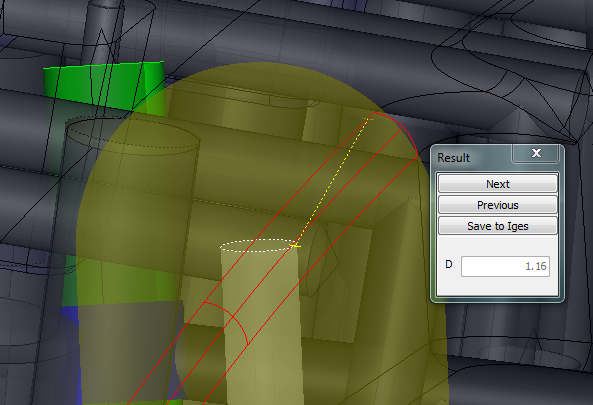
The drill manager will display the results in the display panel with a dialog box displaying the value and viewing controls. A minus value shows there is a violation and a positive value represents the distance away from the surface. There is also an option to save the results to an IGS that could then be sent back to the design department for review and correction.
At the bottom of the interface in the Active Function Panel, it will display the number of warnings found using the clearance value entered.
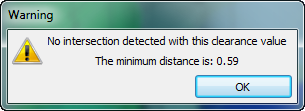
If the system does not find many intersections using the clearance value entered, it will display the minimum distance away a water line is from the surface.
Waterline or Oil to Drill intersection
This will check all water lines for intersection and proximity checks against other holes, other than water lines in the model.
A clearance value has to be entered and will be used to calculate the proximity check against the drilled holes.
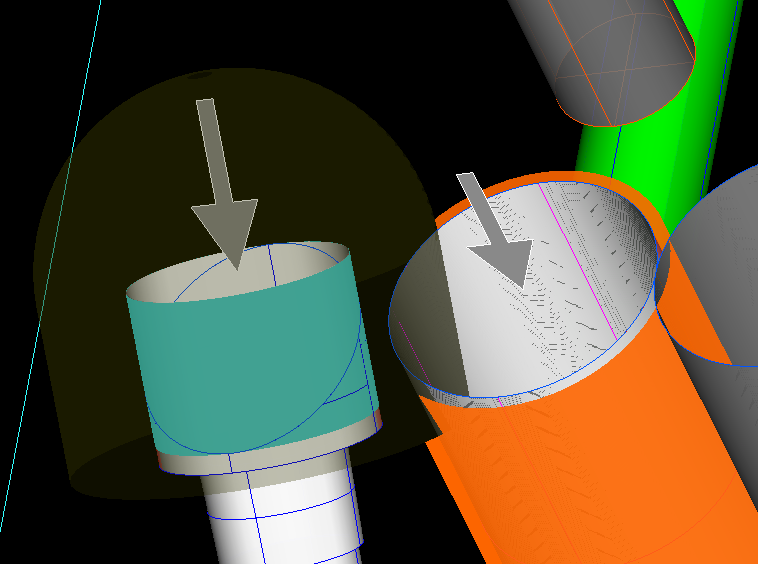
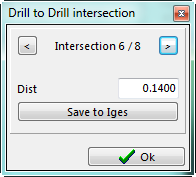
The drill manager will automatically check the water lines against all of the other tagged patterns in the model and then display the results of the check. There is an option to save to an IGS file that can be sent back to the design department for review. The shaded area shows that the drilled hole is within the clearance value of the water line that was selected. The distance in the dialog box is the distance the water line is away from the drill hole. The display window also shows the number of intersection the system has found with the selections that were selected.
Perpendicular intersection
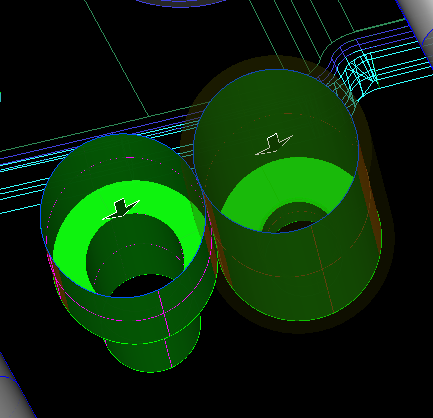
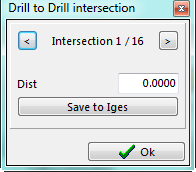
The option to see if there are any drill holes that run perpendicular to each other to see if there will be any problems with the machining process.
The user will need to put in a clearance value and click OK. The system will find any drill hole that run perpendicular to each other within the clearance value. It will display the distance from one hole to another in the Drill to drill intersection panel.
It will show how many intersections there are, the distance between the drill holes, and will give the option to create an IGS file to send back to the design department for review.
Create Drill Axis
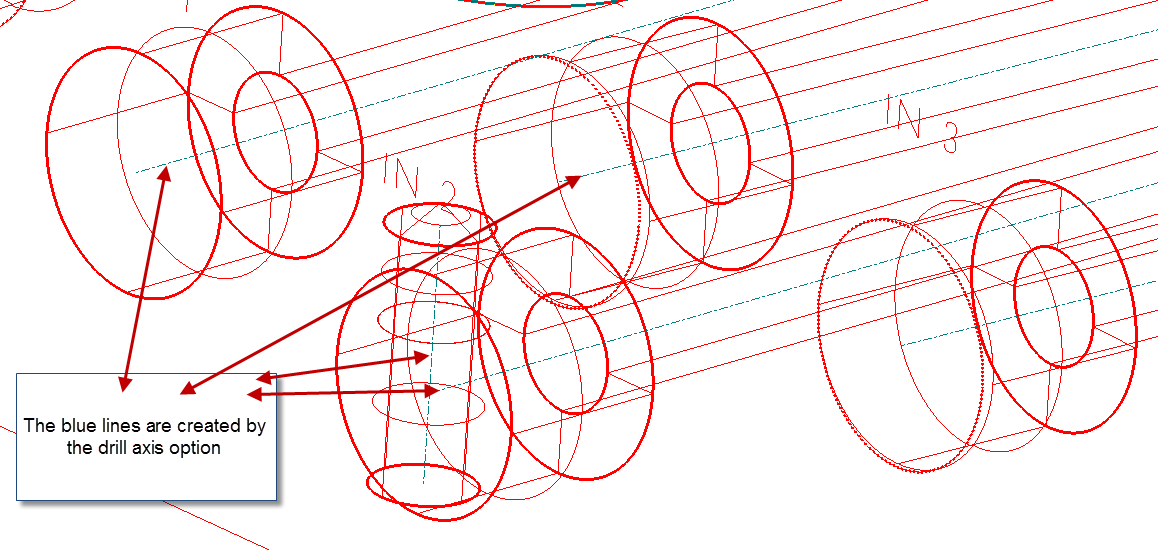
This option will draw a center line through the center of the drill hole regardless of the angle.
Insert Pattern
This takes a pattern (set of holes) from the active database and inserts it into the CAD model on the screen.
When the option is selected the DP file list will be displayed. Select the pattern from the DP file and select OK at the top left corner. Select where the pattern is to be located and then right click on the mouse to accept it. More than one location can be selected. Click the OK button and a window will be displayed asking for a Z Depth. Insert the Z Depth required.
Insert Circle Vector
This creates two circles along a line on an exsisting reference, or creates one for the user. Once the two circles are choosen there is an option to modify them to create any pattern to be able to drill that pattern on the given angles.
The system will ask for two points then a radius. Once the two points are selected the two radius will be displayed. Change them or add a circle to make up the pattern for drilling.