meta data for this page
Geometry Section
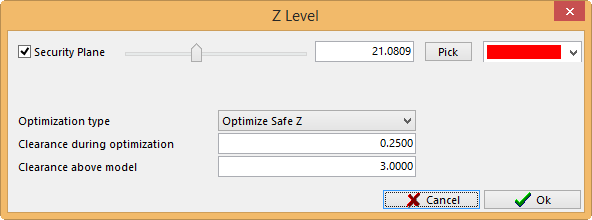
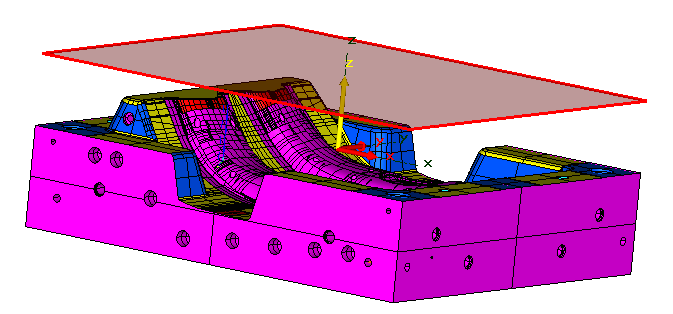
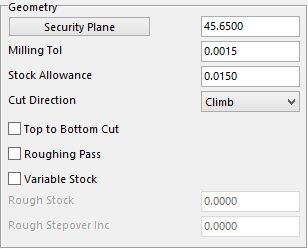 Security Plane – is the safe height that the user wants to start at.
Milling Tol – this tolerance will help to determine the finish on the part. The smaller the value the more points on the toolpath.
Stock Allowance – is the value for how much stock the user wants to leave on the work piece.
Cut Direction – in this drop down menu the user can tell the toolpath whether to Climb or Conventional cut.
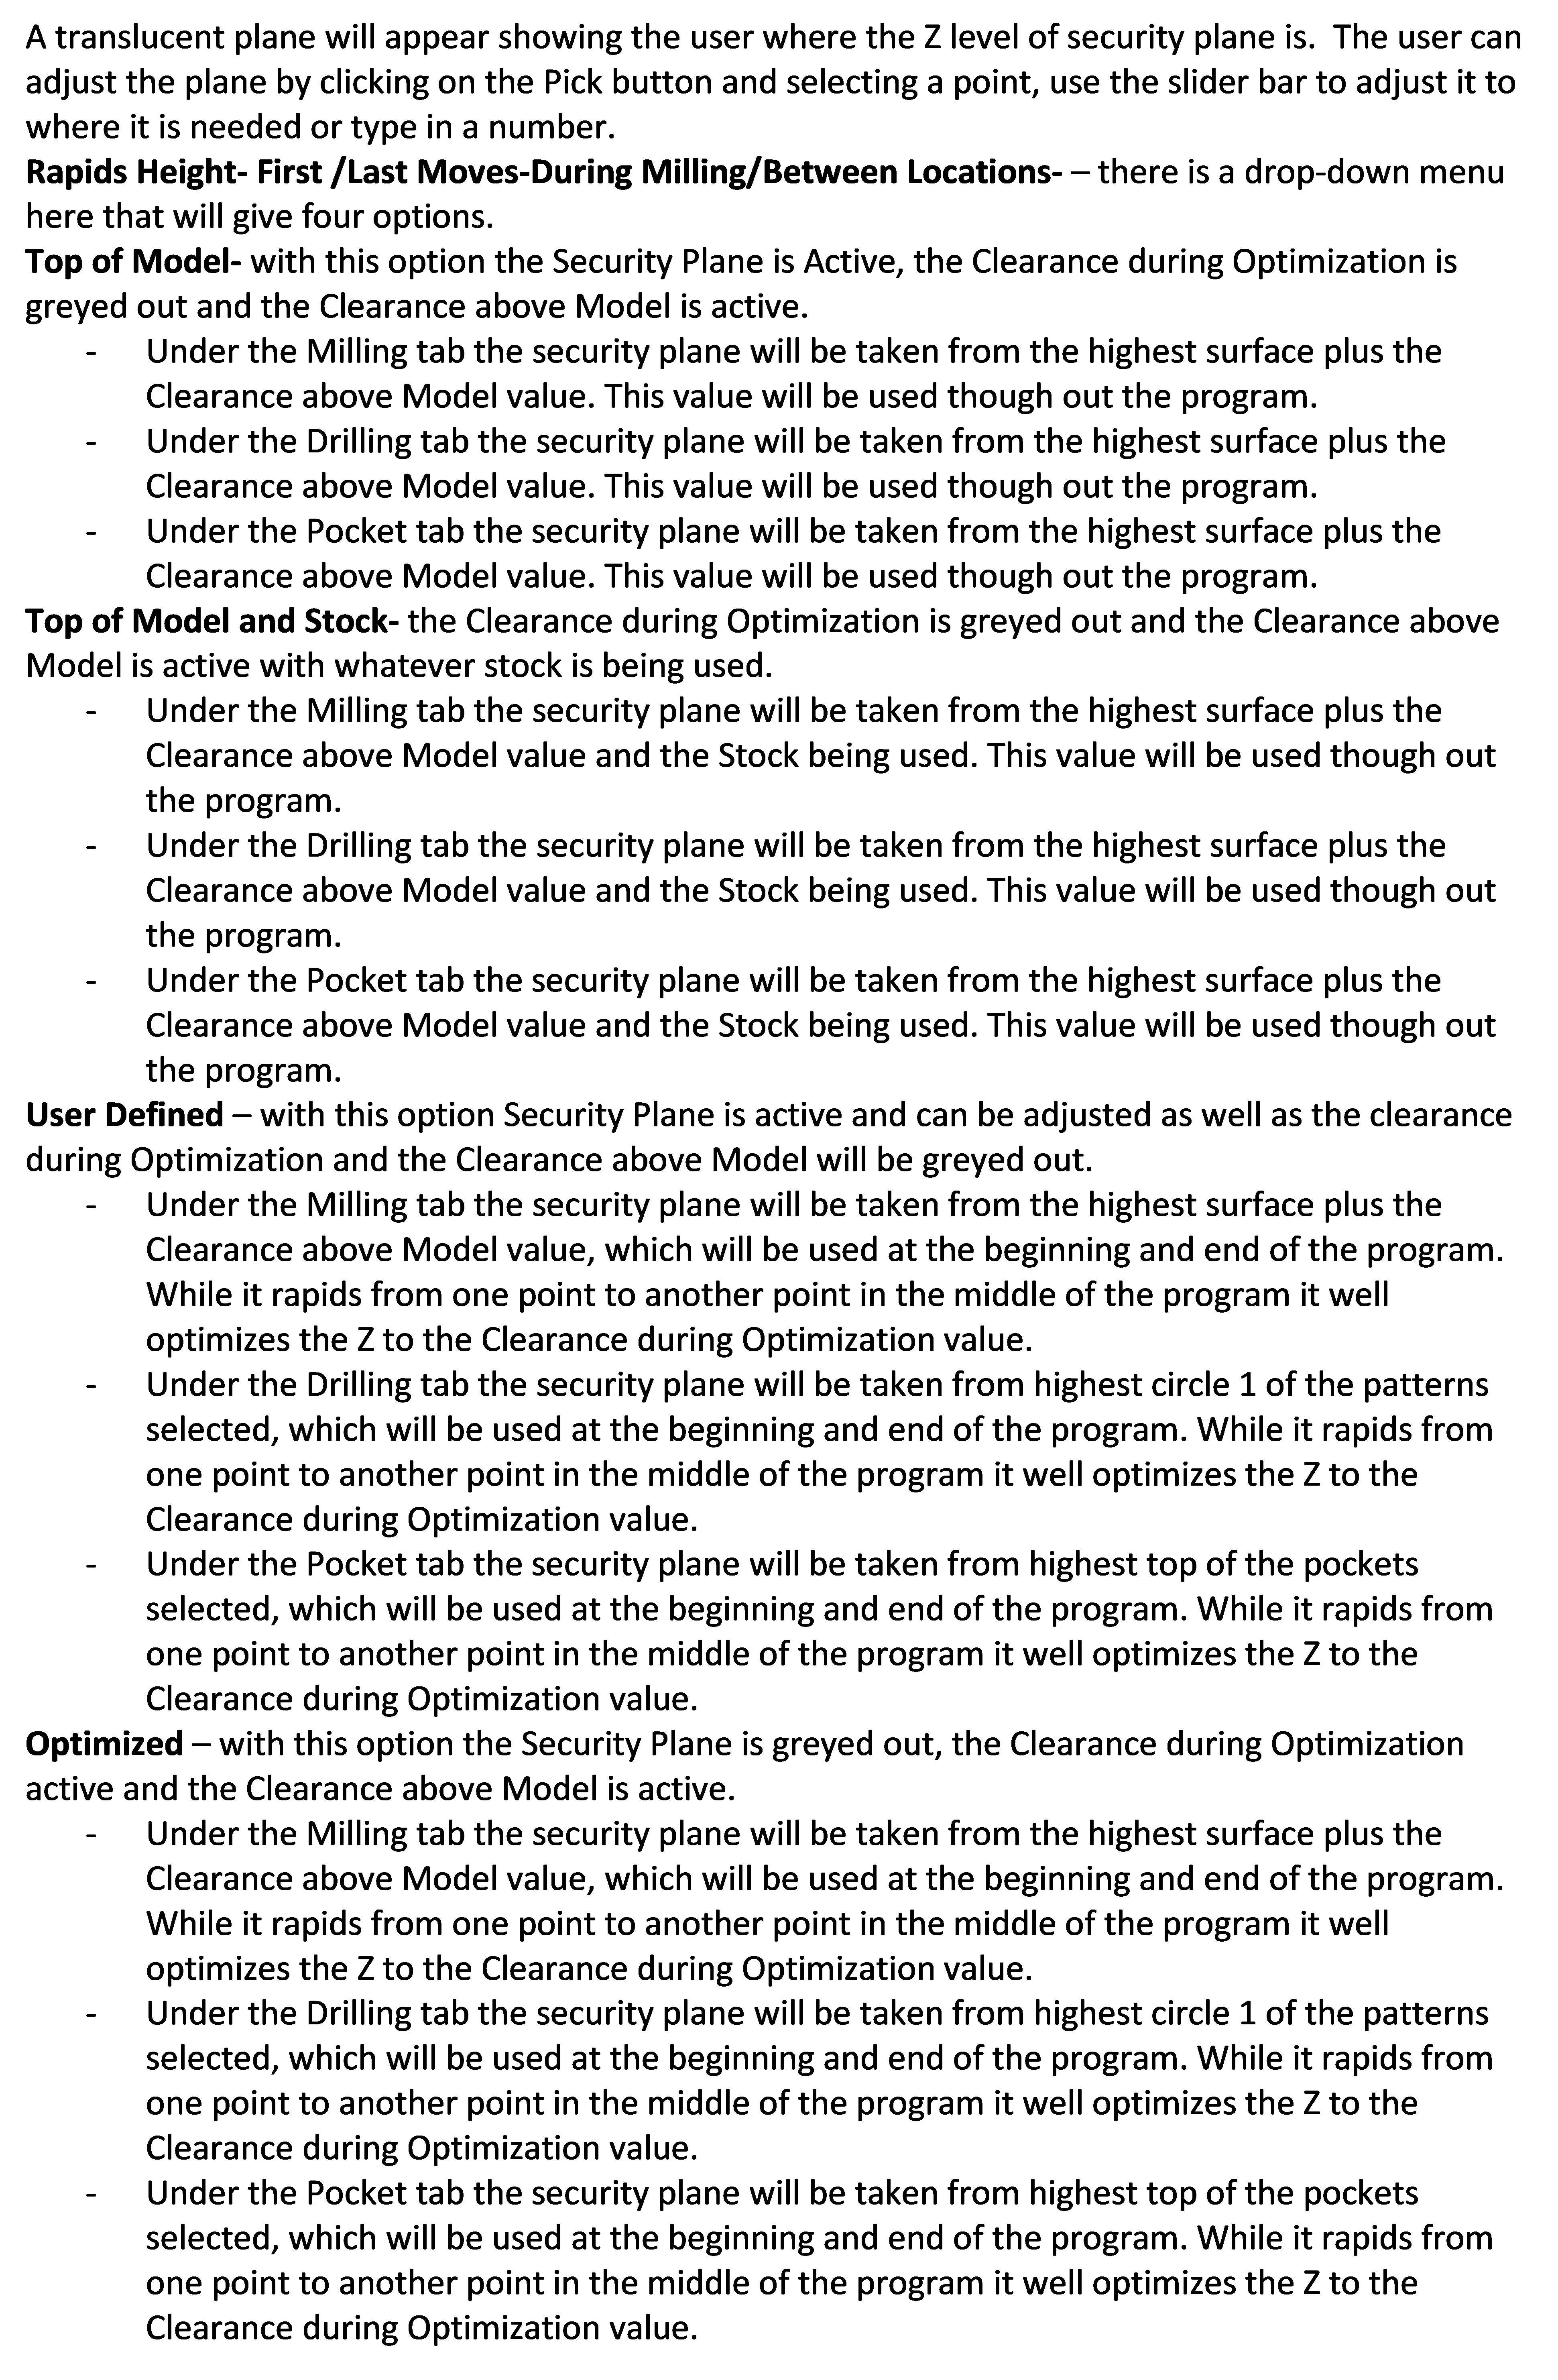
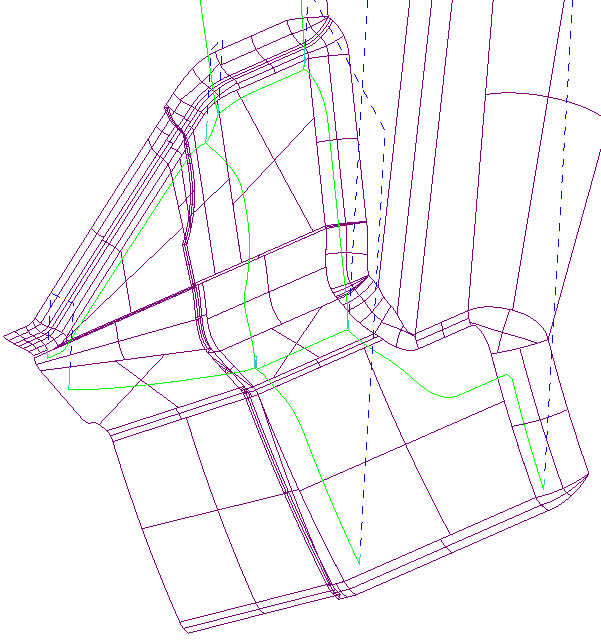
Here is an example of a Drag cut the following option will determine how the toolpath will react.
Top to Bottom Cut – with this option checked the toolpath will start at the highest point of the pass and move downwards or to the Z negative. It will then rapid to the highest point of the next pass and work its way downwards on that one also etc.
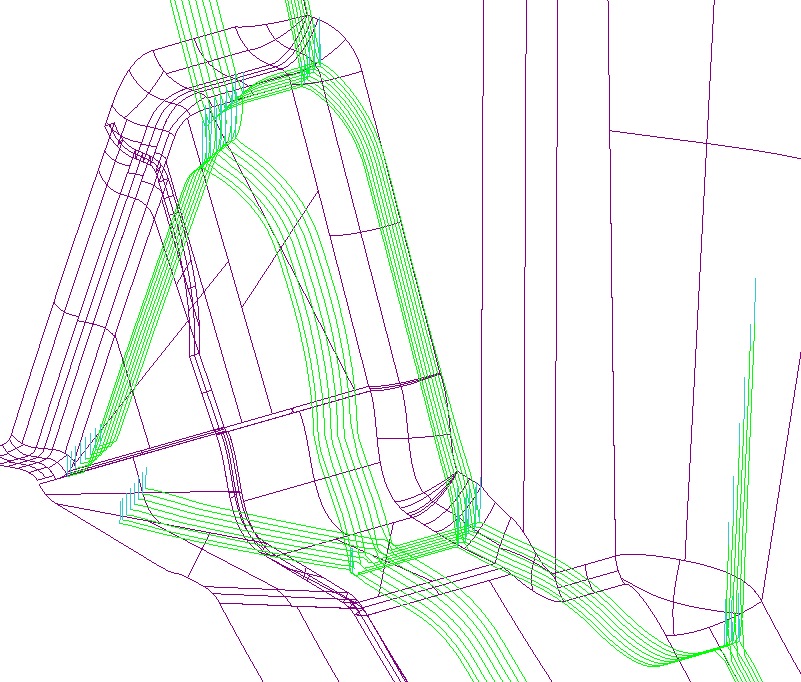
Roughing Pass – with this checked the toolpath will make several passes to remove the stock before making that final pass. The diagram shows it on a 45-degree angle from the contact point.
When this option is selected the Rough Stock and the Rough Stepover Inc will be highlighted and values will need to be added.
Rough Stock – this value is the amount of stock that is left in the corner or the distance away from the corner the user wants his or her first pass to be at.
Rough Stepover Inc – this value is the amount of material that the user wants to take per pass. This toolpath will also only cut by level. It will make the cut the first pass on all corners, then move to the second and third and so on.
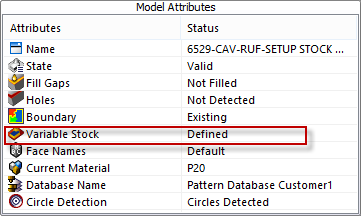
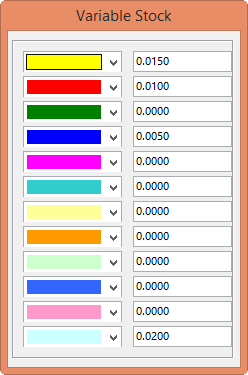
Variable Stock – – this option is filed under the Model tab shown here. Right click on the Variable Stock to display the color palette. Fill in the stock allowances to leave on the color of choice. The user can leave different stock allowances on different colors.
Checking this box in the Geometry Section will bring up the Variable Stock window that was filled in to show what stock allowance is assigned to what color. This option is only active if the box is checked.

Entry/Exit Options will determine which way the toolpath will enter and exit the material. This is the drop-down menu with options to choose from.


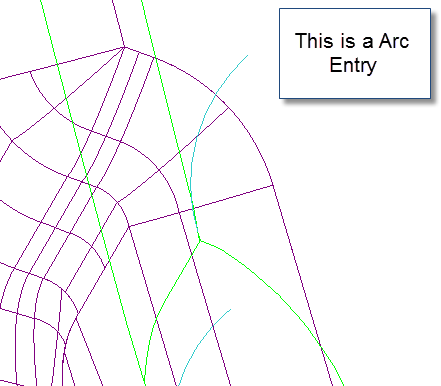
Arc – this option will arc the tool into the material. Once this option is selected the user will need to fill in parameters for Entry Radius and Entry Angle.
*Entry Radius – enter the value for the tool to arc in and out at.
Entry Angle – enter a value of an angle for the tool to start at. 0 degrees is parallel to the side wall and 90 degrees is perpendicular to the side wall.

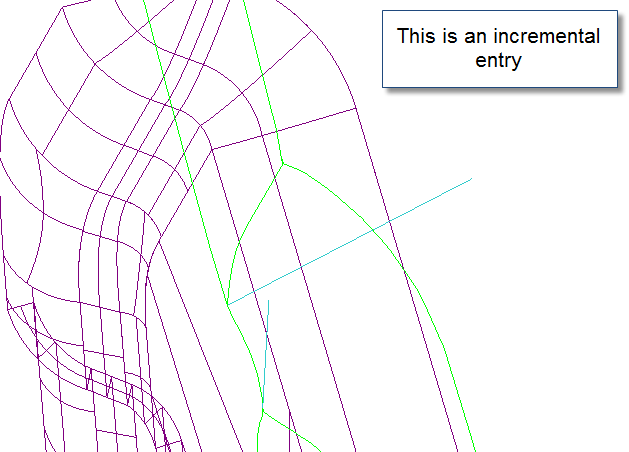
Incremental – this option will allow the user to have a straight line from the contact point of the tool to the steel. The user will need to input two more values Plunge Dist and Plunge Angle.
Plunge Dist – this value is the amount the tool will travel before the contact point.
Plunge Angle – this value is the angle the tool will approach the contact point. It will also rotate about the contact point.

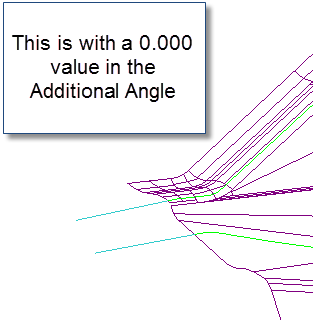
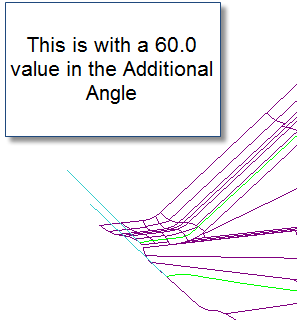
Extend Tangent – this option will allow the user to have a straight line that will be tangent to each passes start point. The user will need to input values Incr. Length and Additional Angle.
Incr. Length** – this value is the amount the user wants the toolpath to extend past the start point of the toolpath.
