meta data for this page
How to Create a Macro

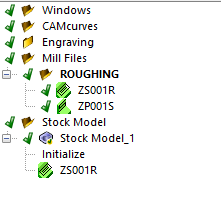
Create a folder under the Mill Files folder and label this folder the name of the macro to be saved to the database. In this example it will be called Roughing. The user will then create programs to execute on a regular basis in the order chosen to be executed under this folder. Once completed highlight the folder, right click, and select the option Create Macro.

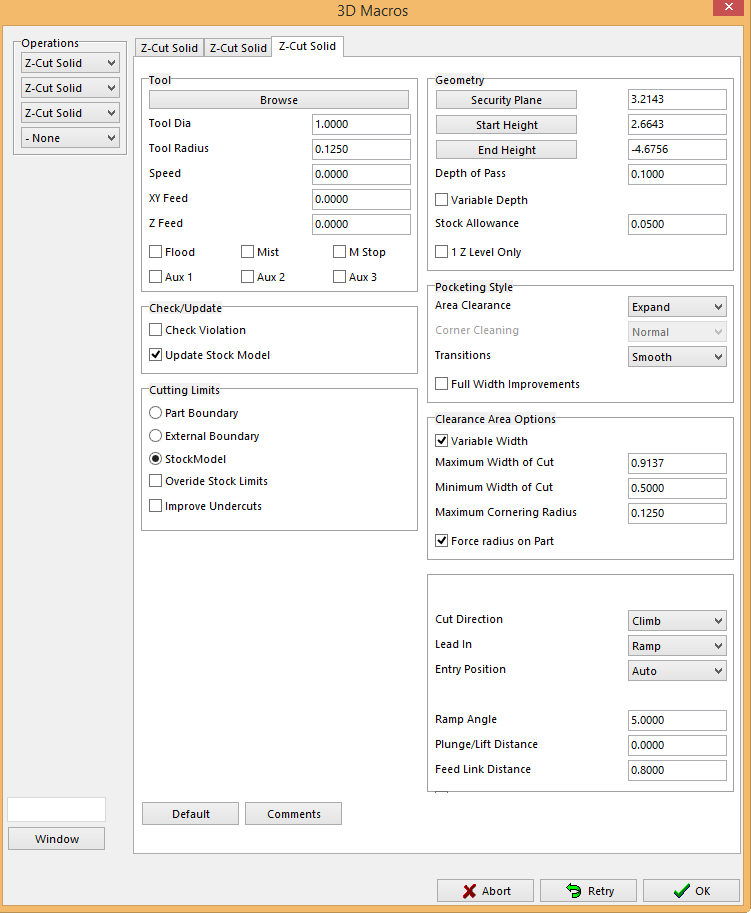
Once Create Macro is selected a program panel will appear and all the programs that were under the folder will appear in the Operations section.

Once the user is at this point, select OK at the bottom right corner of the screen. That series of programs are now stored in the database.


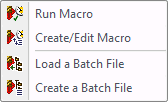
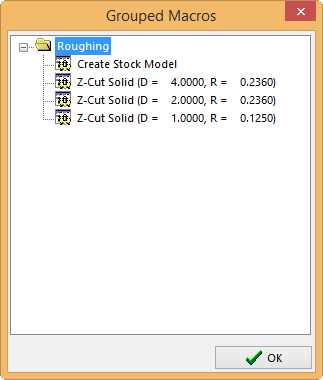
These programs can also be edited by using the Create/Edit Macro button on the ribbon. By selecting this option, a window will be displayed with the macros that were stored in the database. Select the macro that needs to be edited. A menu will appear with the following options.
Create Macro – will allow the user to create a new macro from scratch. A window will be displayed and ask for a name of the macro. Once the name is entered, the 3D Macro window will appear. A new macro can now be created and stored in the database.
Edit Macro – will bring up the 3D Macro window of that macro allowing the user to edit it.
Delete macro – will delete that macro permanently.

Macro-Database Icon located on the Toolbar -This is used to Edit\Modify the 3-D macros that are saved.