meta data for this page
Arcs Menu
A line dropdown menu allows the user to create arcs in several different ways.

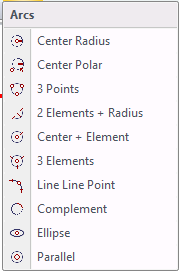
Center Radius
Create a circle or arc by entering the center point and the radius allow with the start and end angles.
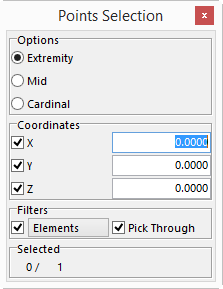
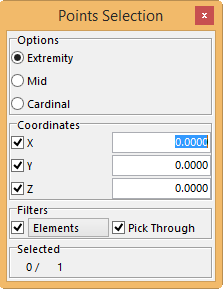
A Points Selection window will be displayed. Input a point or select one from the data on the screen.
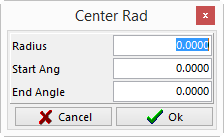
Once the point is selected a Center Rad window will be displayed.
Radius – is the size of radius of the arc or circle that is being created.
Start Ang –the angle for the circle to start.
End Ang –the angle for the circle to end.
Leave the start and end angle as the defaults or make sure that they are the same angle if a complete circle is required.
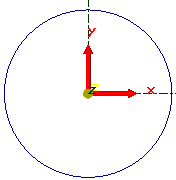
Example above
Start Ang – 0
End Ang – 0
Example below
Start Ang - 0
End Ang - 135

Center Polar
The user can create a circle or arc by giving the center point in polar terms from another point.
The Points Selection window will be displayed where the user will be required to input a point or select one from the data on the screen.
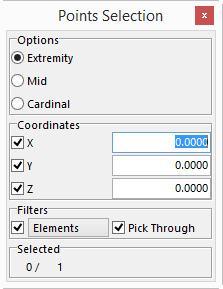
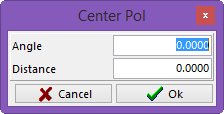
Once the point is selected, the Center Pol window will be displayed. Enter the Angle and Distance to determine the center of the circle or arc.
Angle – the angle the center of the circle, or arc, will be at from the point selected.
Distance – the distance that the center of the circle or arc is from the point selected.
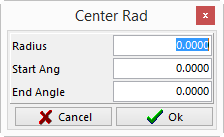
Once the point is selected a Center Rad window will be displayed.
Radius –the size of the radius of the arc or circle that is being created.
Start Ang –the angle the circle is to start at.
End Ang – is the angle the circle is to end at.
Leave the start and end angle as the defaults or make sure that they are the same angle if a complete circle is required.
3 Points
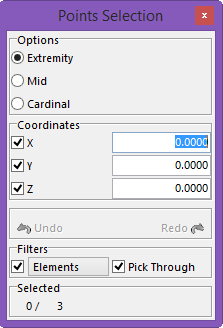
The Points selection window will be displayed and the user will be able to select the 3 points needed to create the circle desired.
2 Elements + Radius
The user can create a partial circle or filet by selecting 2 elements.
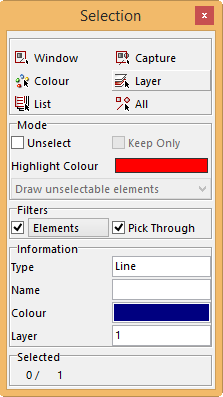
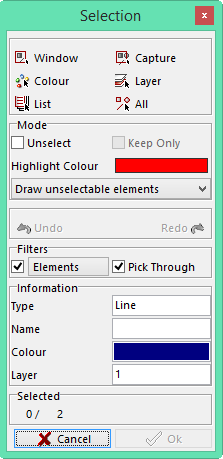
The Selection window will appear and the user will select the two elements needed to create the partial circle or filet.
Once the elements are selected the 2EL + Rad window will be displayed. Input the size of the radius to achieve.
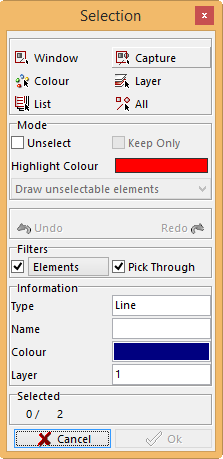

The user can select the result once the Solution window is displayed. Click the left mouse button to scroll through the selections, right click the mouse to select the correct one.
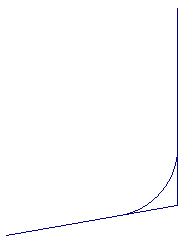
These are examples of two different solutions that can be achieved.
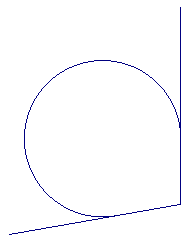
Center + Element
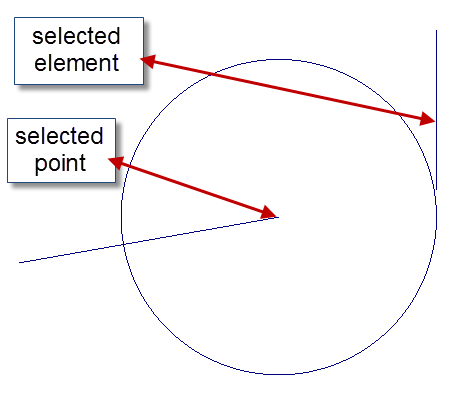
The user can create a circle by selecting a point and an element. The system will provide the best solution.
The user will select a point in the Points selection window.
The Selection window will be displayed and the user will need to select the element needed to create the desired circle.
3 Elements
The user can create an arc by selecting 3 elements.
The Selection window will be displayed and the user will need to select 3 elements to define the parameters of the arc.
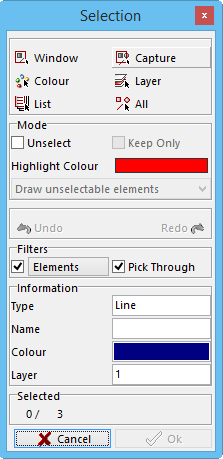
Once the elements are selected the Solution window will give the user three options to select from.
Scroll through the solutions by clicking the left mouse button. Click the right mouse button to select the chosen solution or option.
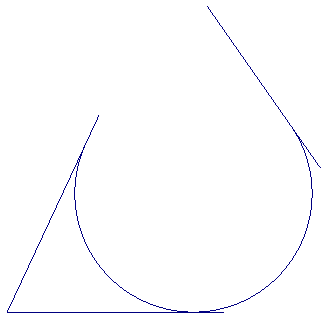
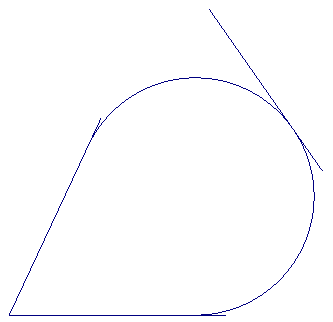
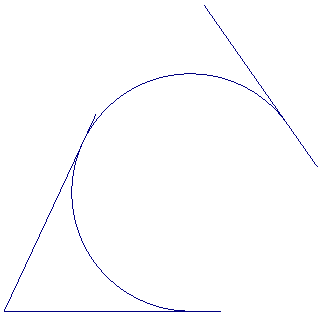
Examples are below.
Once the elements are selected the Solution window will give the user three options to select from.
Scroll through the solutions by clicking the left mouse button. Click the right mouse button to select the chosen solution or option.
Examples are below.
Line Line Point
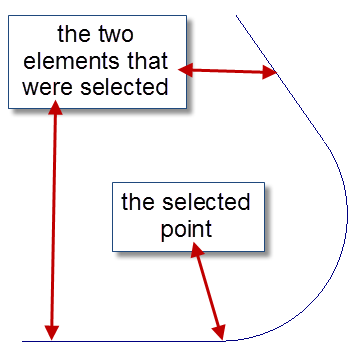
The user can create an arc by selecting 2 elements and a point.
The Selection window will be displayed and the user will select the 2 elements required to create the desired arc.
Once selected, the Points window will be displayed. The user must select the end of one of the elements that were selected for the arc to pass through.
An example is provided below.
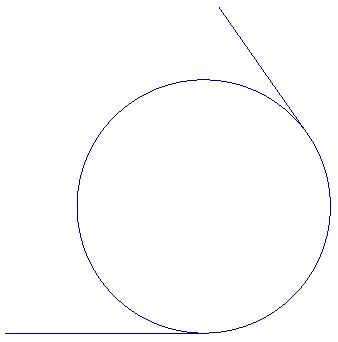
Complement
The user can select a partial circle and create a complete circle.
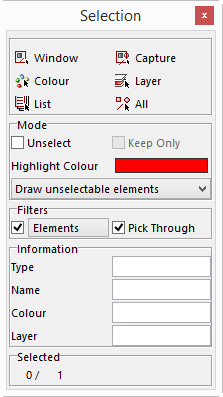
The Selection window will be displayed and the user will select the arc to complete or modify.
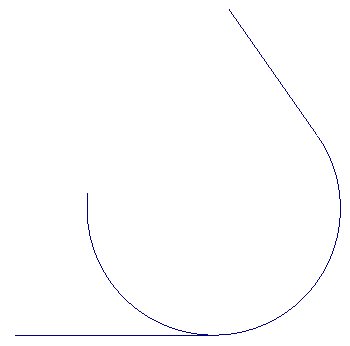
Once selected, it can be modified by moving the mouse to the position where the arc is to be modified, or a complete circle can be made.
Examples shown below.
Ellipse
The user can select a partial circle and make it a complete circle.
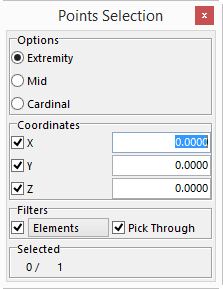
The Points Selection window will be displayed and the user can select a point with the mouse or manually enter one.
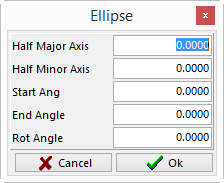
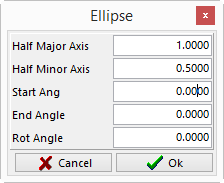
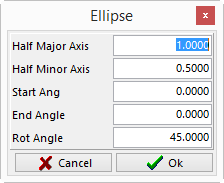
Once the point is entered the Ellipse window will appear.
Half Major Axis – this value is half of the size of the ellipse on the X axis.
Half Minor Axis – this value is half of the size of the ellipse on the y axis.
Start Ang – the angle for the circle to start at.
End Ang – the angle for the circle to end at.
Leave the start and end angle as the defaults or make sure that they are the same angle to create a complete circle.
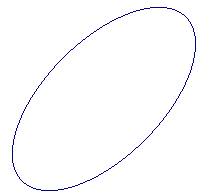
Rot Angle –the angle that the user wants the ellipse to be on.
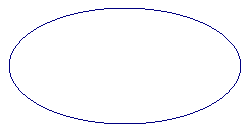
There are two example below.
Parallel
The user can select a circle and draw one or more circle parallel to it.
The Selection window will be displayed and the user will select the circle to be made parallel.
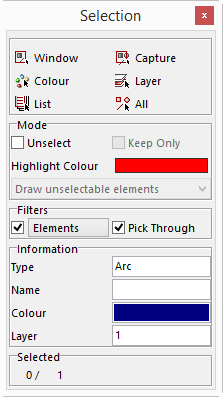
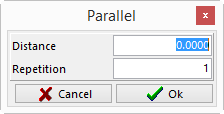
Once the circle is selected the Parallel window will be displayed. Two parameters will need to be completed.
Distance – this is the distance in-between the circles.
Repetition* – this is the number of repeats that are needed.
Once the parameters are completed and theOK button has been selected, the user will now have the ability to select what side of the circle to make the copies on. Click the left mouse button and then the right mouse button to except.
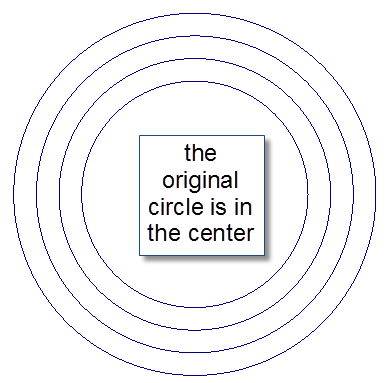
Here is an example of the result.
