Table of Contents
Assembly Window

This field is where the User can name the assembly.
Tool Window
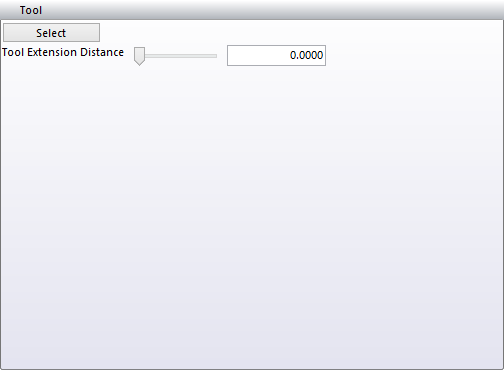
In this window, select the tool to use in the assembly. Click on the select icon and the tool database window will be displayed. Select the tool to be used then click OK. Once the tool has been selected the window will display the tool information.
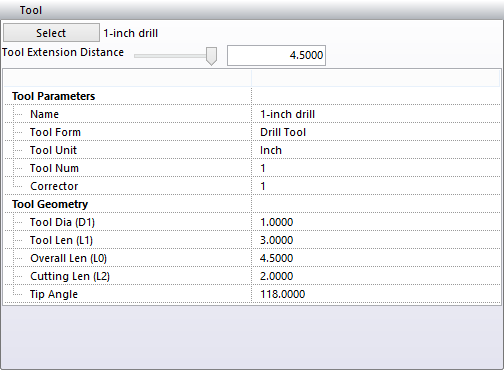
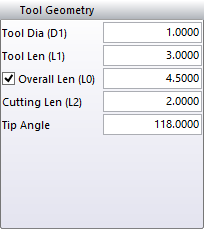
In this example there is a Tool Extension Distance sliding bar under the selection button. This sliding bar will only show up if you have checked the Overall Len (L0) when the tool was created. This sliding bar will give the User the ability to adjust the length of the tool by moving the bar side to side. It will adjust the length between the Tool Len (1) and the Overall Len (L0) that was entered when the tool was created.
Holder Window
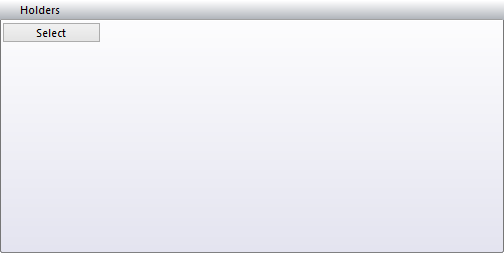
To add a holder, click on the Select button and the holder database interface will be displayed. Highlight the holder with the mouse then click on the add button. Additional Holders or extensions can be added at this point to complete the holder assembly.
Now click on the OK button in the bottom right hand corner and the holder will be added, you will see the image of the cutter and holder together on the far right side of the Assembly Database interface.
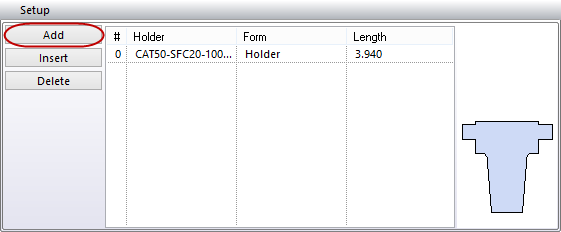
Add – this button will allow you to add holders from the Holder Database, once you have the holder selected click on the add button to add the holder to the tool.
Insert - this button will allow you to insert a holder in front or on top of one that has already been added, just pick the holder you want to add and in the Setup window pick the holder you want it in front of and press the Insert button.
Delete - Highlight the holder you wish to delete from the list and press the delete button.