Mask

This option will open a drop down menu giving the user two options.


With this option the user can mask or hide elements that are on the screen. This does not delete elements. The user will always have the ability to make them reappear.
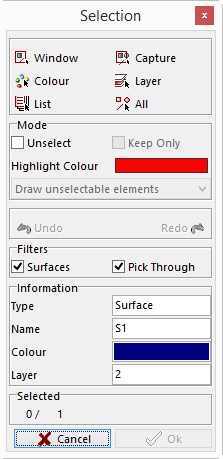
With the Mask option the Selection window will open and the user will select the elements to mask or hide. Once these elements are selected click the OK button and the elements will disappear.

With the Unmask option the same Selection window will open and the screen display will change to only show the elements that are Masked. The user will now select the elements to make visible again. Once those elements are selected click the OK button and the screen display will change to show all visible elements.
IMPORTANT NOTE – this will not inactivate surfaces. If a surface is masked that surface is still cut able. Masking the surface only hides it from view. Any element that is masked cannot be manipulated. If you were to select Translate, Rotate Mirror or Scale and use the all button on the Selection window, the elements that are masked will not be affected. They will remain the same size and in the same position.

This option will open a drop down menu giving the user four options.
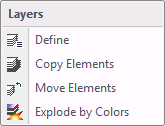
These options are for viewing and changing the Layer list.

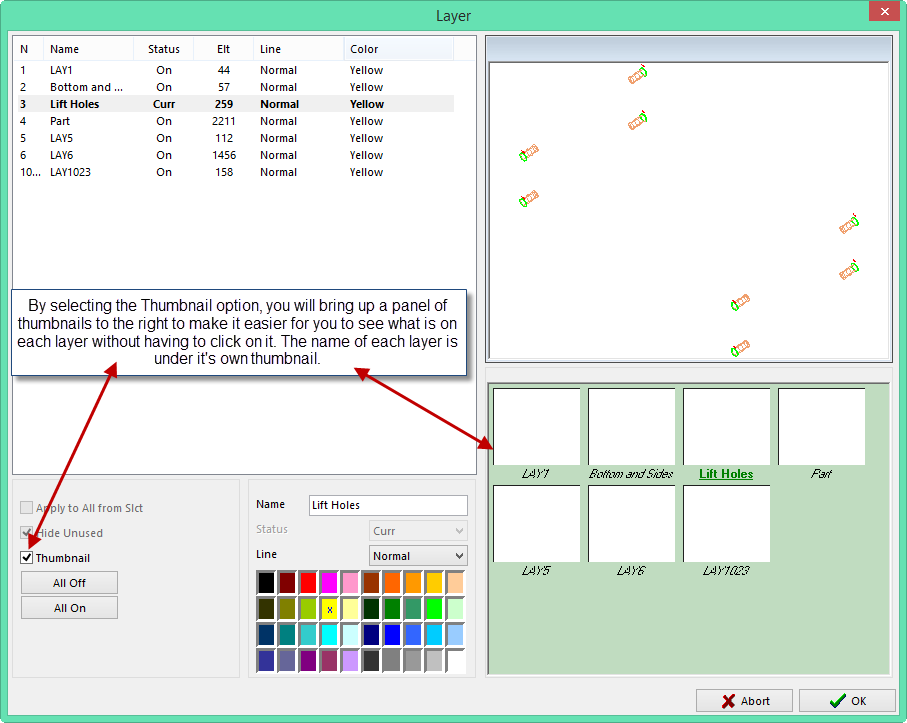
Define – allows the user to view the Layers list. The user can also turn layers on and off, and also name them.
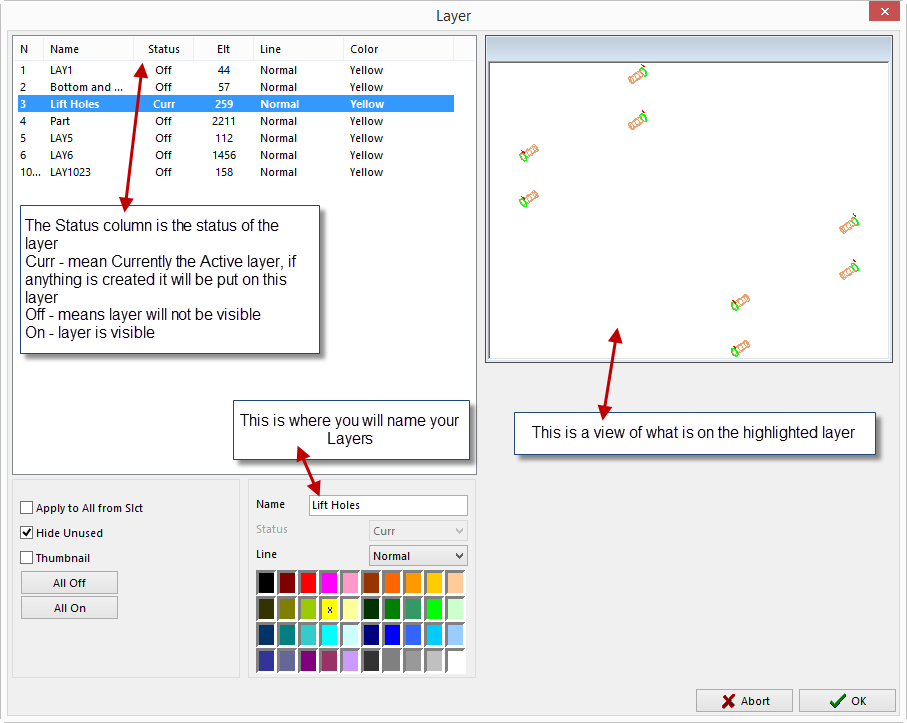
Changing the status of a Layer
In order to change the status of a layer use the keyboard and mouse, or the Status button in the Define window.
To change the status using the keyboard or mouse
To make the layer the Current, double click on it with the mouse and its status will change to Curr. To turn them on and off highlight a layer and press the space bar on the keyboard.
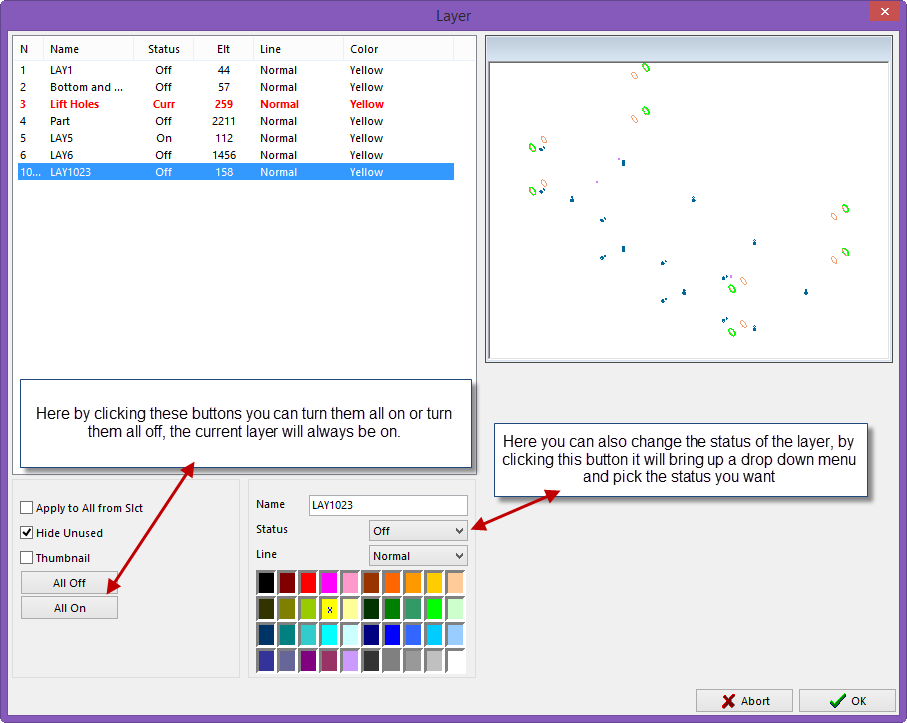
The Hide Unused box when checked will hide all layers that are empty and note been used, with this box unchecked it will show you all 1023 layers.

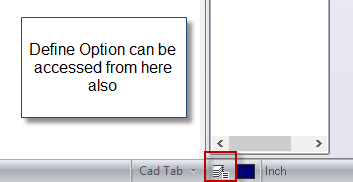
The Define option can also be accessed by using the button at the bottom right corner of the screen, shown here.
The Define option can also be accessed by using the button at the bottom right corner of the screen, shown here.

With this option the user the ability to copy elements and put them onto another layer.
The Selection window will open and the user can select the elements to make copies of.
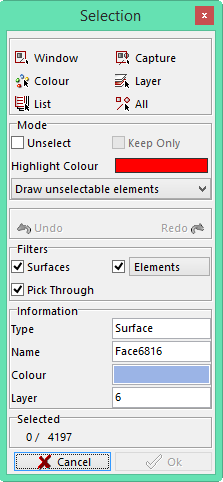
Once the elements are selected click on the OK button and the Layer window will open showing all 1023 layers. Select the layer for the elements to be on by clicking on that layer. Once the layer is selected click the OK button in the bottom right corner. The system will now create copies of the selected elements and put them on that layer.

This option allows the user to move elements from one layer to another to help better organize the data.
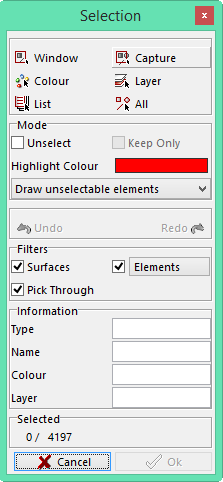
Once this option is selected, the Selection window will be displayed and the user will select the elements that are to be moved to a different layer.
With this option the user can have the layer list rearrange itself by colors, giving each color its own layer.
Once the elements are selected click on the OK button and the Layer window will open showing all 1023 layers. Select the layer for the elements to be on by clicking on that layer. Once the layer is selected click the OK button in the bottom right corner. The system will now move the selected elements and put them on that layer.

To use this option simply click on it and the system will complete the action. A window will open stating that the option was used. Click the Ok button and the layers are now arranged by color.
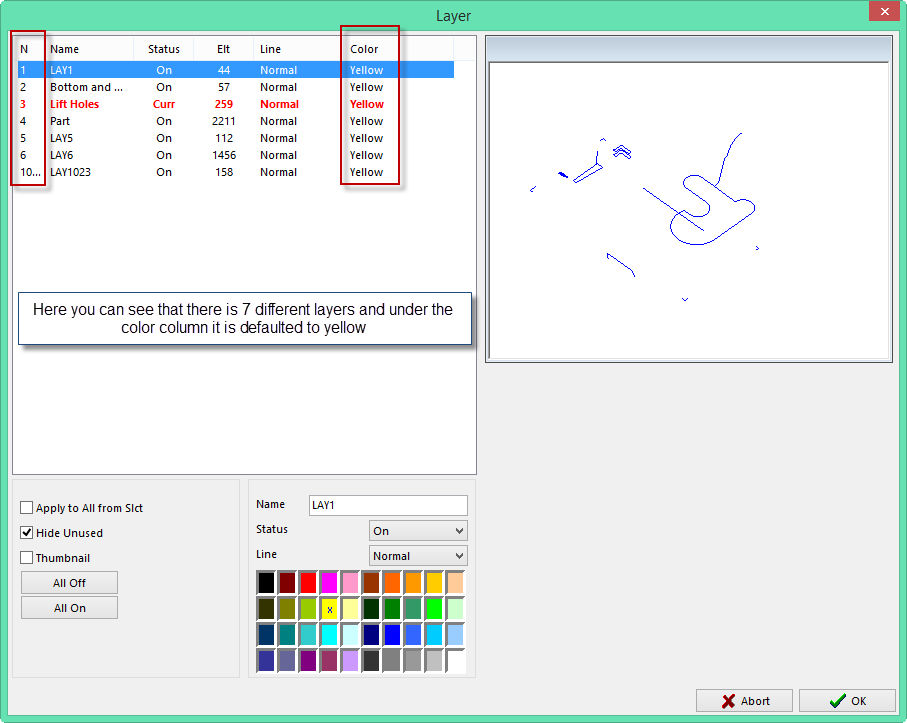
This is an example of before the Explode by Color option was used.
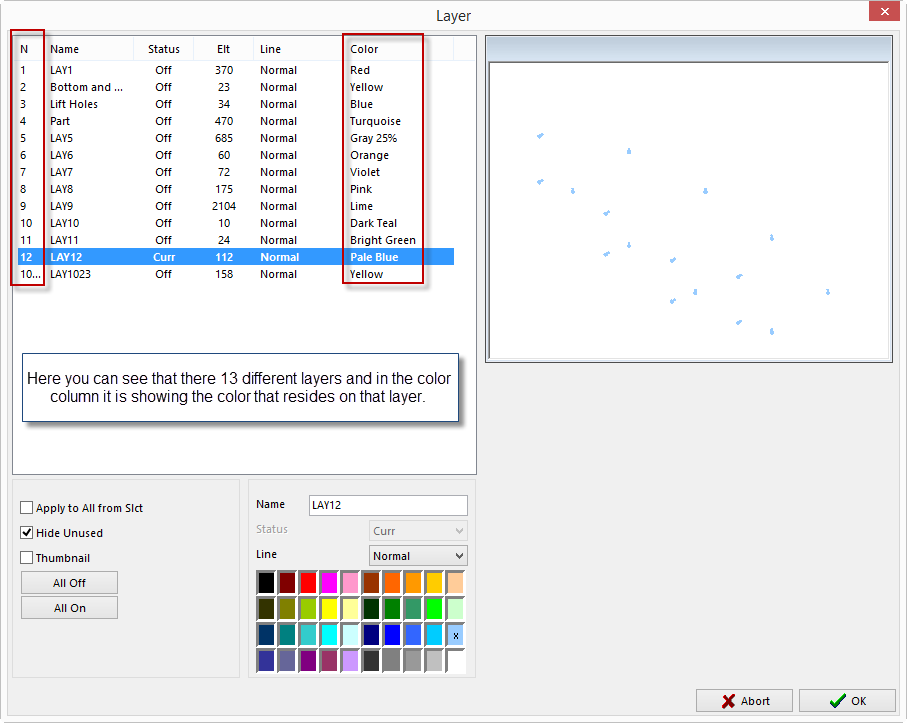
This is an example of the layer list after the Explode by Color option was used.