Line Menu
The Line drop down menu allows the user to create lines in several different ways.

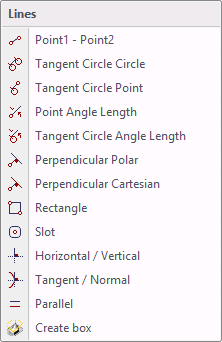
Point1 – Point2
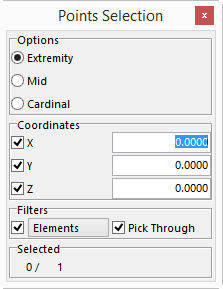
With this option the user can select two points on the part or manually input them.
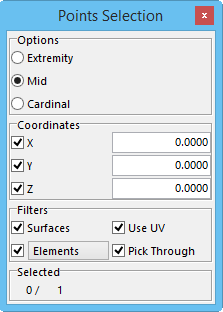
Options
Extremity –select the edges of a surface or the ends of a line.
Mid – this option allows the user to select the middle point of a line or circle.
Cardinal – Detects the cardinal points of an arc or a circle. These points are positioned at 0° or 360°, 90°, 180° and 270°. If none of these points are available on the selected arc, then the arcs center point will be detected.
Coordinates - Manually input the values of the location of where the point will be.
Filters
The user can filter the elements that will be displayed on the screen. For example, if there are only lines on the screen the only choice that will be available is Elements and Pick Through.
Use UV – with this selected the user has the ability to select points on the UV lines of the surface giving the user more options.
Pick Through – with this selected the user has the ability to choose a point on the elements that maybe hidden behind other elements.
Once this window is displayed, select the first point and second point and accept each selected point by right clicking on the mouse. A line will appear connecting the two points that were chosen.
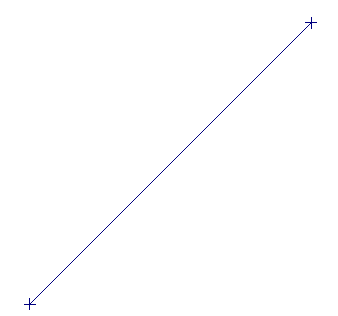 This is the result when selecting two points.
Tangent Circle Circle – allows the user to connect two circles or arc at their tangent points, giving the user the choice of the various tangent points to connect.
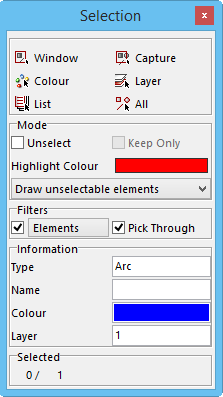
This Selection window will default all the parameters needed.
Select the first circle or arc followed by the second circle or arc. Once both are selected another window will be displayed.
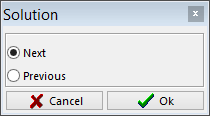
The user now has the ability to choose the tangency to use. Simply click the left mouse button until the tangency needed has been achieved and click on the OK button.
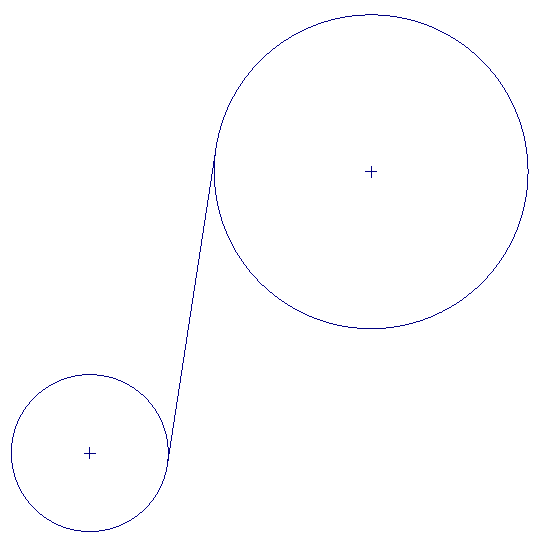 This is one of the results that can be achieved. Different results can be achieved by selecting the different tangent positions.
Tangent Circle Point – allows the user to connect a circle or arc at its tangent point, to a point on the part, giving the user various tangent points to connect.
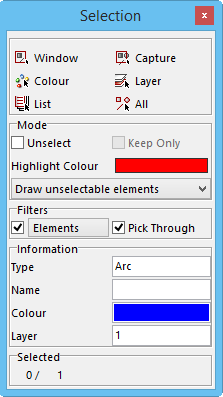
This Selection window will default all the parameters needed. The user will choose the circle or arc needed to connect to the point. Once the circle or arc is selected a Point Selection window will appear. Select the point to connect to the tangency of the circle or arc that has been selected.
Select the point with the left mouse button and accept your selection with the right mouse button.
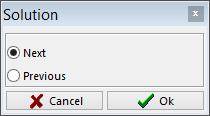
Once the elements have been selected the user has the ability to choose the tangency to use. Simply click the left mouse button until the tangency needed has been reached and click on the OK button.
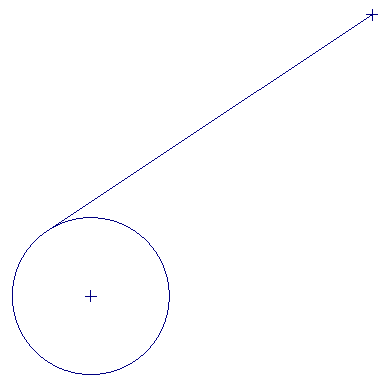 This is one result that can be achieved. It can also connect to the other side of the circle by pressing the left mouse button at the right time.
Point Angle Length – allows the user to select a point, give the system an angle, and a distance to create a line.
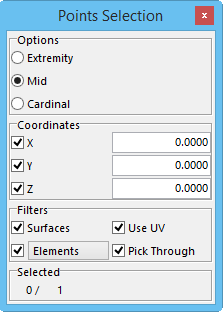
Options
Extremity – select the edges of a surface or the ends of a line.
Mid – this option allows the user to select the middle point of a line or circle.
Cardinal – Detects the cardinal points of an arc or a circle. These points are positioned at 0° or 360°, 90°, 180° and 270°. If none of these points are available on the selected arc, then the arcs center point will be detected.
Coordinates -Manually input the values of the location of where the point will be.
Filters
The user can filter the elements that will be displayed on the screen. For example, if there are only lines on the screen the only choice that will be available is Elements and Pick Through.
Use UV – with this selected the user has the ability to select points on the UV lines of the surface giving the user more options.
Pick Through – with this selected the user has the ability to choose a point on the elements that maybe hidden behind other elements.
Once this window is displayed, select the point and accept the selection by right clicking the mouse. Another window will appear that the user will need to complete.
Tangent Circle Angle Length
With this option the user can create a line tangent to a circle at a specified angle and length.
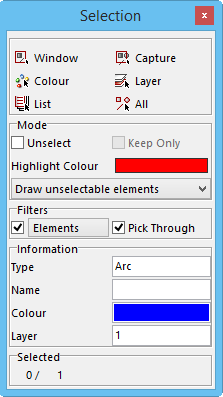
This Selection window will default all the parameters needed to choose the element required. The user will choose the circle or arc needed.
Once selected another window will be displayed.
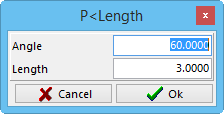
The user will now enter the angle and length of the line to create. Confirm by selecting the OK button.
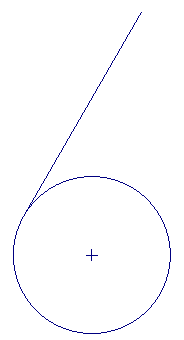 This is the result from the settings shown above.
Perpendicular Polar
Creates an angled line to a point given in polar terms.
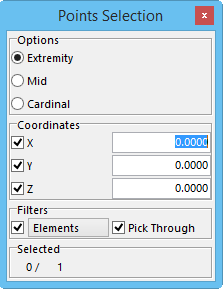
This will be the first window displayed. Select a reference point with the mouse or enter the point manually.
The window below will appear.
Angle - define the angle of the line.
Distance - Define the distance of the line from the reference point to the line center.
Length - Define the length of the line. If the length is unknown, enter a large value then trim the line.
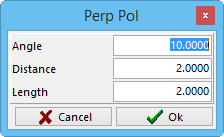
 This is the result of the parameters used in the sample above.
Perpendicular Cartesian
Creates a line perpendicular to a selected line from a given point.
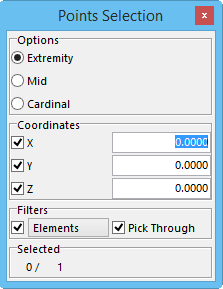
Select a reference point with the mouse or enter the point manually. The point is where one end of the curve will attach to.
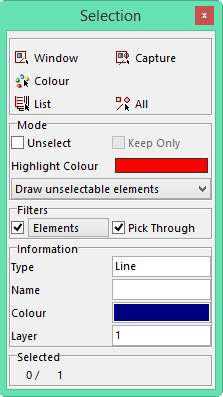
The Selection window will be displayed for the user to select the desired curve to define the angle and distance for the curve being created.
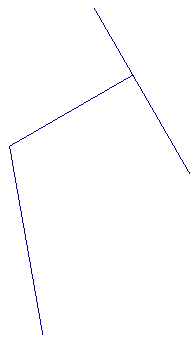
 To the Left is Before|To the Right is After
Rectangle
Creates a rectangle box defined by the selection of two points.
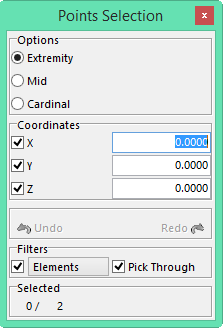
When this option is selected the Points Selection window will be displayed.
By selecting two points the user will create a rectangular box. Each side of the box will be independent on it’s own.
The user can select points from the data on the screen or manually input them.
See the results below.
 Two points before
 Two points after
Slot
Creates a slot with a given length, width and corner radius. The slot will be defined and positioned from its center.
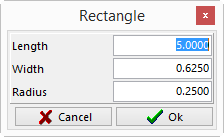
The system will ask for the slot parameters.
Length – the length of the slot from end to end
Width – the width of the slot
Radius – the corner radius for each corner of the slot
Once the parameters are entered, the user will need to define where the canter of the slot will be.

Define the angle of the slot if there is one that is required.

The result of using the parameter above
Horizontal / Vertical
Creates a quick line horizontally or vertically by using the mouse.
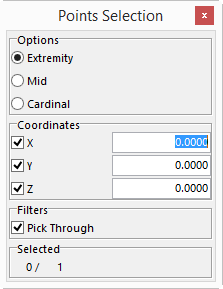
The Points Selection window will be displayed. Select a point where the end of the line will begin.
Once the point is entered, move the mouse away from the point in all directions and it will display a red line with an arrow and the distance away from the given point. When clicking the mouse, a new window will ask for the desired distance from the point. This allows the user to be more accurate in the length of the line.


Tangent / Normal
This option will allow the user to draw a perpendicular or continuation of a line from any extremity.
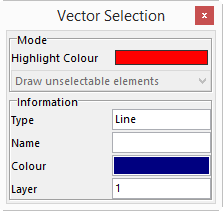
A Vector Selection window will be displayed. The user will select the line to extend or go perpendicular to, and the end to go from.
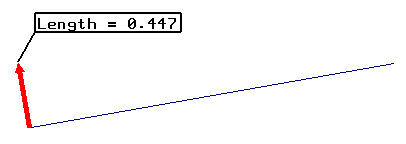
Once selected, remove mouse from the point in all directions and a red line with an arrow and the distance that you are away from the given point will be displayed. After clicking the mouse, a new window will ask for the desired distance from the point. This allows the user to be more accurate in the length of the line.

 Result
Parallel
Create a line parallel to a selected line.
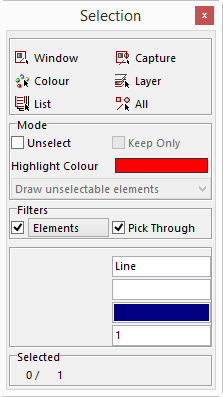
Select the line to duplicate parallel to itself.
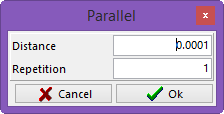
A Parallel window will appear asking for the distance between the two lines and the number of repeats if any.
Press the left mouse button to toggle between the two available solutions.
Press the right mouse button to accept the one that is best suited.
 Before
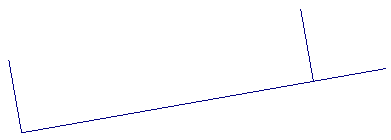 After
After
Create Box
Create a line parallel to a selected line.
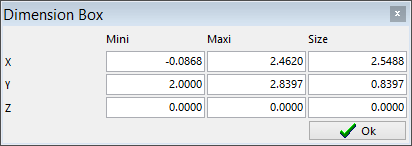
A Dimension Box window will be displayed giving the user the ability to draw a box around the entities that are on the screen. The user can enter the values to create the box. Select the OK button to create the box.