Entry/Exit
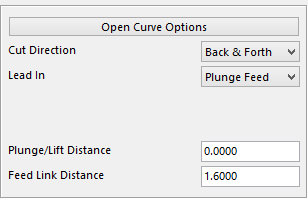 In this section the user will choose which way for the tool to travel and the way it reacts in between passes.
These options can be set for Open Curves and for Closed Curves.
 These are the Cut Direction options for the Open Curve Options.
 These are the Cut Direction options for the Closed Curve Options.
Climb – this option will climb cut and rapid back to the beginning of the next to climb cut again.
Conventional – this option will conventional cut and rapid back to the beginning of the next to conventional cut again.
Back & Forth – this option will climb cut then conventional cut, therefore the tool will be in contact with the steel more.
 These are the Lead in options for the Open Curve Options.
 These are the Lead In options for the Closed Curve Options.
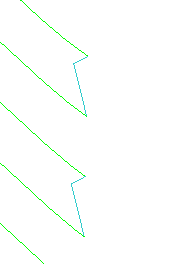
This is an example of the Plunge Feed option
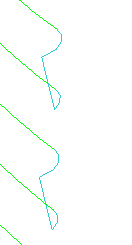
Arc – with this option two more parameters will be displayed. Arc Radius value is the size of radius for the tool to approach exit at. The Arc Angle is the angle the radius is to start and finish at. The angle is calculated from the wall outwards.
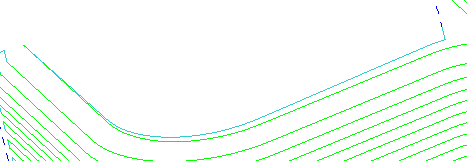
Ramp- this option will only ramp on the first pass if it is an Open Curve. On a Close Curve it will ramp at every pass.
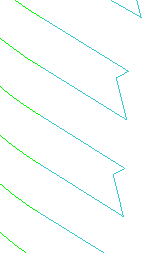
Extend Tangent – with this option selected two more options become available.
Inc Distance – tells the tool how far to extend from the start point of the pass.
Inc Angle – tells the tool what angle to be at from the surface being cut.
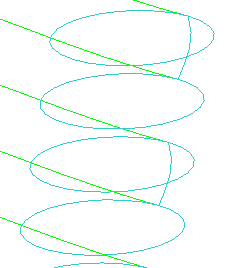
Spiral – with this option it will spiral in and out of each pass.
Auto Arc – the system will find the best arc for the situation of the cut. The user will need to input an Arc Radius.
Auto Extend – the system will find the best angle for the extension to be on. The user will still need to enter the Inc Distance.
Plunge/Lift Distance – the system will default to .200 above the highest point of any surface in its path. To be higher enter the value for the tool to travel above. For example, to be .300 above the highest surface in its path, enter .100. The system will automatically add the .200 default to that number.
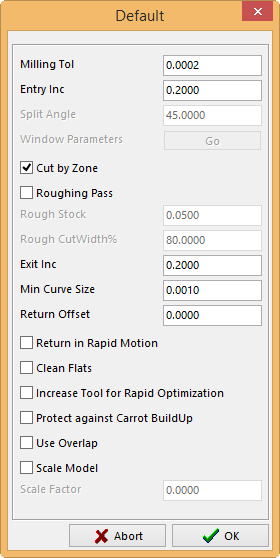
The Default Button – under the Default Button there are more setting to enable the user to adjust the toolpath.
Milling Tol – this tolerance will help to determine the finish on the part. The smaller the value the more points on the toolpath.
Entry Inc – this value is the height that the toolpath will rapid to above the steel before going to feed mode.
Cut by Zone – if there are two pockets being cut these are the options. With this box checked the toolpath will complete one pocket before moving to the next. With the box unchecked the toolpath will alternate between pockets, cutting one level at a time in each pocket.
Roughing Pass – if this option is checked the Rough Stock and Rough CutWidth% will be highlighted. This option will rough the center of the pocket, as well as finish the side walls. On each level it will rough the center first to the Rough Stock value, then profile the pocket to the stock allowance it is given on the main screen. The Rough CutWidth% is the % of the tool will offset to clean the material from the center of the pocket.
Exit Inc - the distance the program stays in feed mode when it lifts from the steel.
Min Curve Size – this value is if the space from one point to another exceeds this value the system will retract to get to it.
Return Offset – when using Climb or Conventional the value entered will be the distance the tool will stay away from the work piece to follow it back to the beginning of the cutting path.
Clean Flats – with this box checked the system will clean all flat to the Stock Allowance that the user has given it.
Protect against Carrot BuildUp - with this box checked and the proper value in Carrot Distance the toolpath will not cut any areas where it is possible for material to build up under the center of the tool. If the box is unchecked the tool will go anywhere the diameter of the tool will fit.
Use Overlap – with this box checked the system will overlap the start and end of each level.
Scale Model – when this box is checked the Scale Factor box will allow a value to be entered. That value is a multiple of 1 that allows to enter into smaller areas. The value is how much the triangle model will be scaled up in size to allow the system to make the program, then it will scale back to normal size. This will produce a much smoother toolpath.
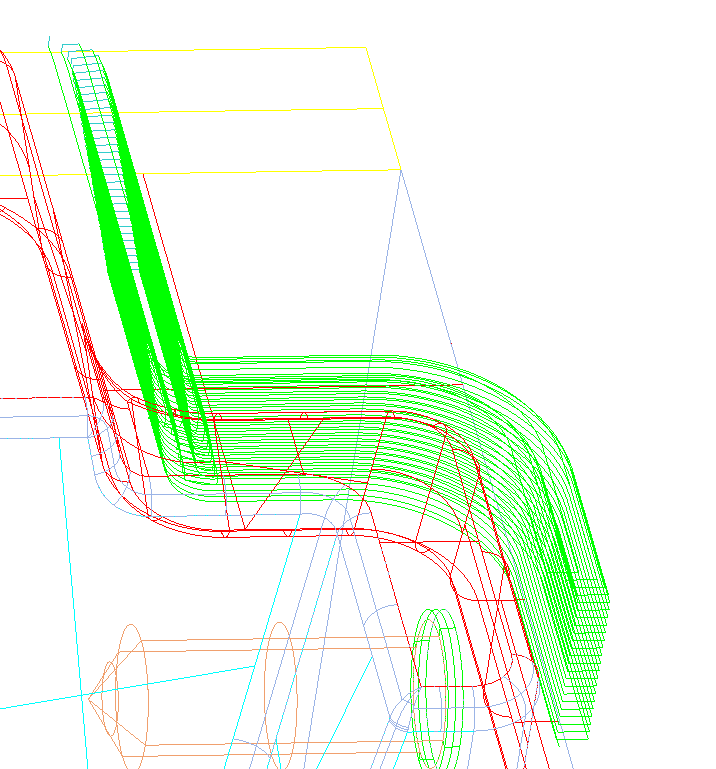
Here is an example of using the Return Offset under the default button. The program is set to climb cut and once the tool has finished its pass it will follow the shape that it cut to get back to the beginning to start the next level.
Arc/Point – with this option the user can select where to have the tool enter from to start. Select multiple points and the system will decide which is best to use. Once the option is selected a window will be displayed with options to select points.
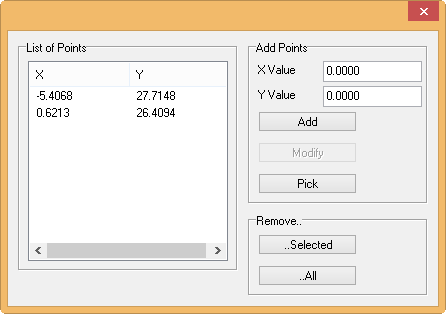
The user can input the values manually and then add them by pressing the Add button or the user can pick the points on the screen by pressing the Pick button. Once the Pick button is pressed a sphere will appear around the cursor to represent the tool. Select any points on the screen then select the OK button and those values will be input under List of Points.
There is a Remove option that allows the user to remove all the points or only the points that have been selected.
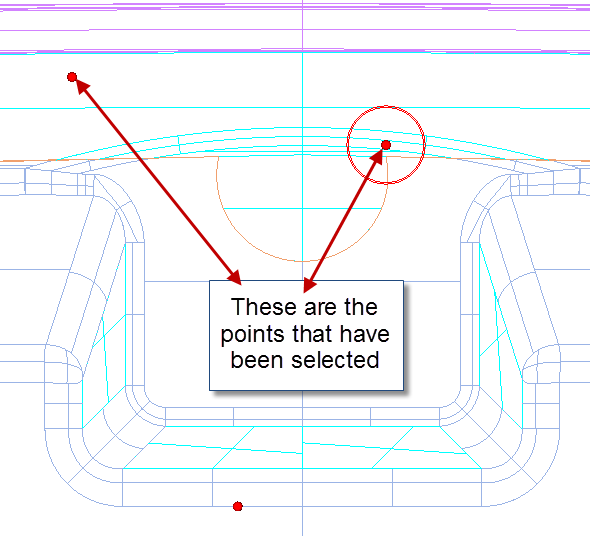
Here we show where the points are that have been selected
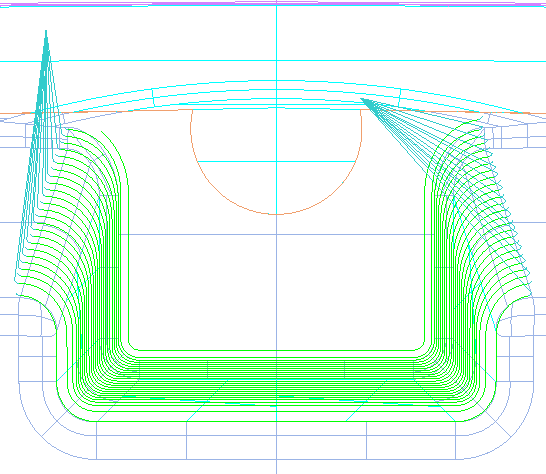
Here is the result of that selection